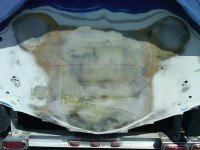
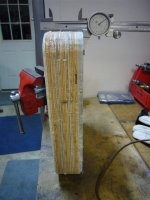
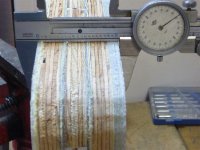
I cut an undersized hole out of the transom on Sunday to see how things would go. My router template worked pretty good, and the lamination looks really solid. GlassDave and I were shooting for 2", so I guess I'll settle for 2.058".
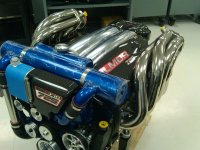
Now, If I can just get IlmorDude to push my engine to the front of the line... :bump:


 :sifone:
")