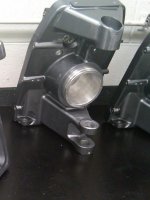
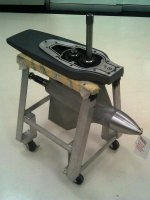
The completely self-contained dry sump lower unit. The oil reservoir is cast into the lower unit, so there is no need to mount one inside the boat, and therefore no lines to run to/from the drive.
I believe that the o-ring at the front seals the pressure feed to the upper unit. Since the drive oil circulates back down into the lower unit and gets cooled, there is no need for a drive shower.


") ). PLUS - The boat doesn't sink if the bellows gets torn.
). PLUS - The boat doesn't sink if the bellows gets torn.