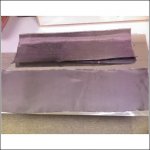
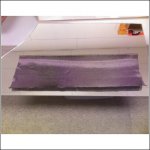
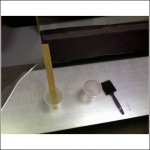
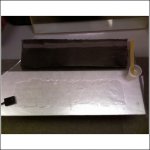
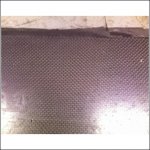
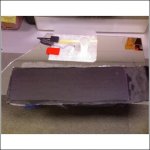
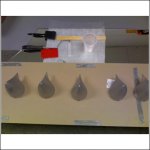
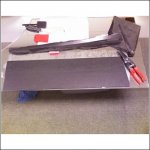
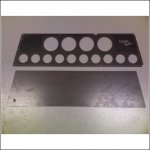
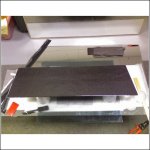
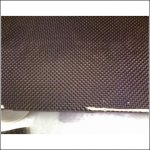
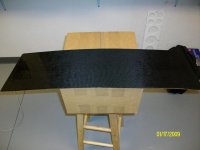
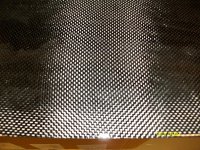
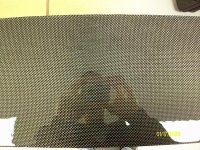
when we lay up flat carbon like that to make runner stiffeners, start with your flat surface, cover with wax, wax paper etc... lay down your cloth, then resin and squeegee the excess resin off, lay down wax paper another flat piece of whatever and put a lot of weight on it to form compression as it sets up.