Revd Up
New member
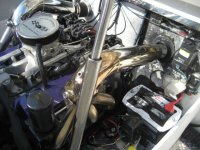
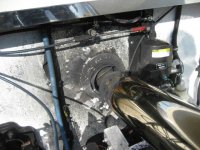
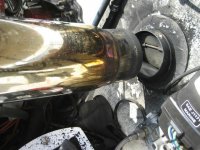
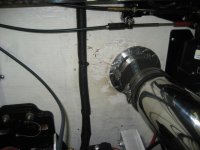
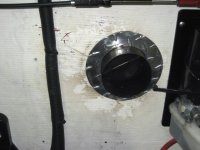
Two days ago I was running wide open across a lake. The water supply hose to my header came off. The header overheated and burned the short rubber hose that connects the header to the exhaust tip. What a mess. I have cleaned up everything but have a stain on the transom that just won't clean up. I have tried everything. I would like to paint the transom so it all looks good again. Something I can brush on. It is an off-white color. I looked into Interlux- Briteside one part Polyurethane paint. #4381. It is a very close color match. Is this the proper paint to use or should I be using something different.
Thanks,
Steve
Thanks,
Steve