64' Corsican - Thanks Saccenti Marine!!!

The entire hull was ground down so the new materials would get a good bite. A new transom made with marine grade ply went in also.

19groundhull.jpg
 
Same with the deck. The entire deck was ground down so the new materials would bite. The footwell had broken loose from the deck. It was tabbed on with woven roving. Everything was cut out and replaced with epoxy resin and engineered materials, 1708 and 3610. Also used some 1.5 oz mat as required for bulk. Someone had attempted some random repairs in the past using epoxy so we were stuck using epoxy as well.

20deckground.jpg


21footpodground.jpg
 
I did not like the fact that there were no wing boards fwd of the engine compartment bulkhead so a set was added at the bulkhead between the fuel tanks. Here you can see the sub enclosure that is mounted in the hull up in the nose. The tanks are back in at this point.

22afterglasswork.jpg
 
As noted, Chris did the engine work. Once it was back in the shop, I made custom brackets for all the electronics on the engine. Going for a clean look yet wanted everything to be properly wired and fuse protected.

24engelec.jpg


25engelectric.jpg
 
Gave it a fresh coat of ceramic engine paint and installed the engine in the hull. The customer wanted hydraulic steering so an electric over hydraulic system was added. This was all custom bracketry as well.

26portsideengine.jpg


27starsideengine.jpg


28aftengine.jpg
 
Once the engine was in straight and level with proper alignment on the new engine mounts and stringers, the exhaust would not line up on the port side. I am pretty sure the engine was installed crooked from the factory. I had to machine the exhaust riser flange at an angle to get the exhaust to line back up with the existing thru hull. As noted earlier, the paint on the exterior was already done so I had to make things work with the existing holes.

29machinework.jpg
 
Work continued on the deck. Added new switches, gauges, sound system and wiring. Again, all circuits were properly fuse protected. Everything used was marine grade for corrosion protection and longevity.

30deckrigging.jpg
 
I did not like the fact that there were no wing boards fwd of the engine compartment bulkhead so a set was added at the bulkhead between the fuel tanks. Here you can see the sub enclosure that is mounted in the hull up in the nose. The tanks are back in at this point.

22afterglasswork.jpg

Ya, I know it's an OLD thread, but it's all I have to go on.........

I am now the new owner of this boat and it has been giving me lots of problems.

Now that the starter issues and the alternator issues have been fixed, we have found that the major problem is the gas tanks.

For some reason it has 2 tanks?!?!? The front tank is steel and has rusted out. It is toast!
The rear tank is in mediocre condition, but has been installed with the fuel pickup at the front, which seems strange. The galvinized filler pipe is almost completely chocked off with rust as well.

We are splitting the boat and removing both tanks, moving the brace between the tanks furthur towards the front so a single, larger tank can be custom made and installed. The new tank will also have the proper filler hose and fittings installed.

My biggest question is this: Why the steel tank and galvinized piping? Why not replace the tanks on a 40 year old boat when the deck was off???
 
Good question. The only reason I can think of is to keep it original?

They had completely removed them from the boat when it was apart and reinstalled them.

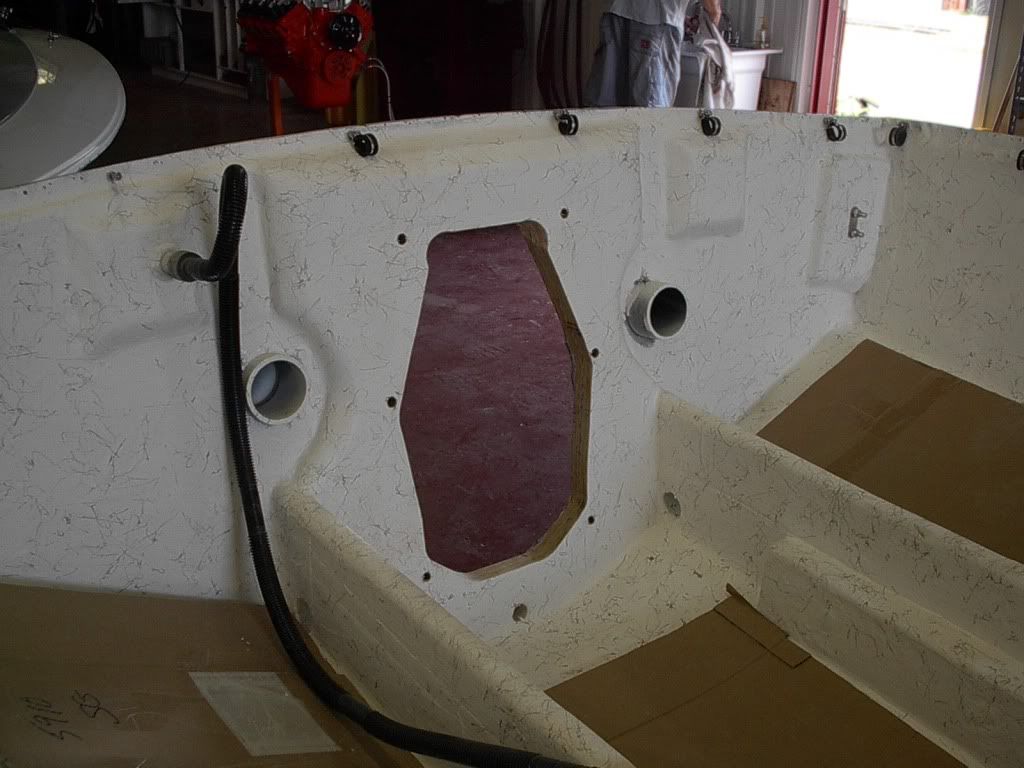
As for the pickup being in the front, it would depend on the baffling and if there was a tube that moved as the boat moved. Old tanks had weird designs inside to keep the pickup itself in the fuel. You have to think of all the things the boat goes through, and what the fuel is doing as the boat accelerates, slows, turns, goes over waves, etc.
 
Shoot a PM or email to Madpoodle. See what he knows about the original construction.

If you can't get ahold of him, let us know.
 
Back
Top