
BDiggity
New member
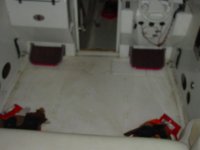
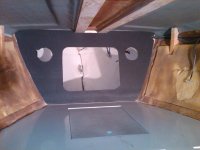
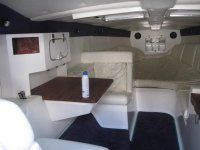
Pulled off the crappy flooring. Would like to get some new stuff, but before i do i want to move the bolsters up about 6". Anyone know how difficult this would be? I assume the bolt fasteners are probably glassed to stringers or other support structure. If too much work i will just reinstall where they were & leave it for next yr project.
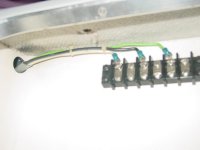
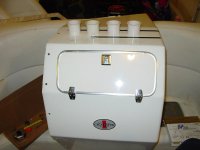
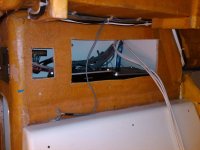
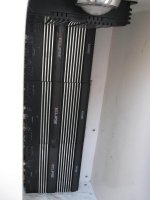
Anyone know what these wires are for? Its terminated in the glove box, but i'm not quite sure for what. looks to be AC?
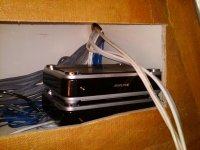
Next weekend i am taking out the rear bench so i have access to install new inverter & then start pulling new power & speaker wires.
Anyone know what these wires are for? Its terminated in the glove box, but i'm not quite sure for what. looks to be AC?
Next weekend i am taking out the rear bench so i have access to install new inverter & then start pulling new power & speaker wires.


")


