Thanks Artie!!!
")
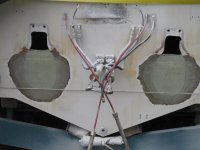
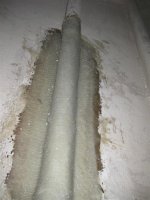
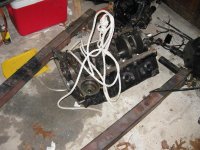
Got one of the stringers re-capped and all the holes in main stringers from offshore mounts laminated this morning. I couldn't finish the 2nd stringer because I ran out of resin, so it's off to the store tomorrow afternoon. :ack2: So then I sanded the inside of the transom and it's ready to be sprayed. Also sanded the transom and got that ready for the last couple layers of laminate. I put a straight edge on it and I feel it can use another 2-3 layers and I'll be good to go!
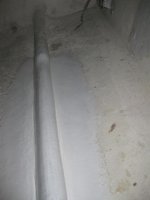
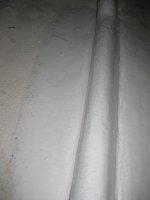
So far everything is very smooth/flat and coming out really well. It doesn't look like I'll have much leveling to do!
Frank